 To start, you must find the functions.php of your WordPress template. This can be done through FTP and make changes manually. The path to this file is usually: /wp-content/themes / YourThemeTitle/ functions.php. Or open it via the console: Console - Appearance - Editor - in the right column choose functions.php file straight from your WordPress theme.
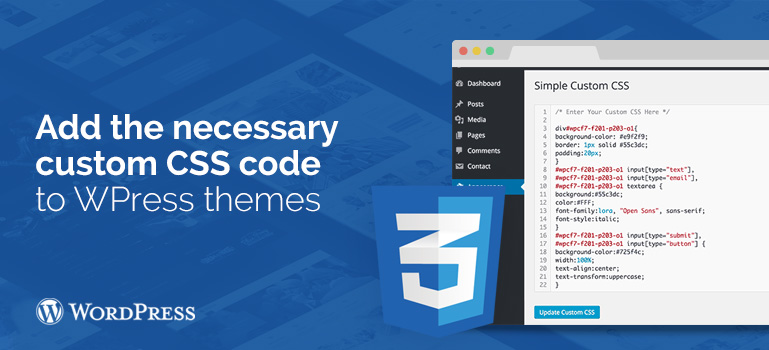
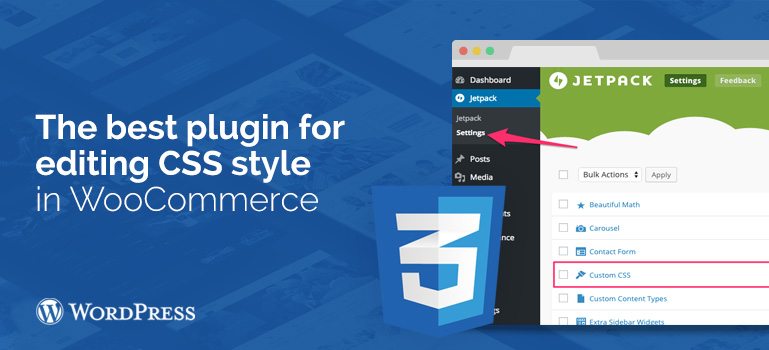
 This script adds a box with an additional input field for your custom CSS code on every page or section of your site using free or premium WordPress themes when you are writing or editing CSS. If, after adding this code, you have no an additional input field for custom CSS - check your "Settings Screen" at the top of the page. Maybe it is necessary to click on “Custom CSS” to display this box in your WordPress template.
 If you have any questions left about how to add. Edit custom CSS code in any WordPress themes and WooCommerce templates, you can ask them on our forum or during the talk with the Support Service of our project.