We would recommend enabling the Classic Widgets Panel via Theme Options > General.
You can create additional sidebars to add your own content and functionality, or to use different sidebars on different pages/posts. Navigate to Appearance > Widgets. Fill in the Custom Sidebar title and press the Add Sidebar button.
Place necessary widgets into the newly created sidebar. Then, create your page ( Pages > Add New), and on the right side of the 8theme Layout Options choose Sidebar Position, the required Sidebar Width, and the desired Widget Area.
Single Product Page sidebar – Sidebar that appears on a Single Product Page.
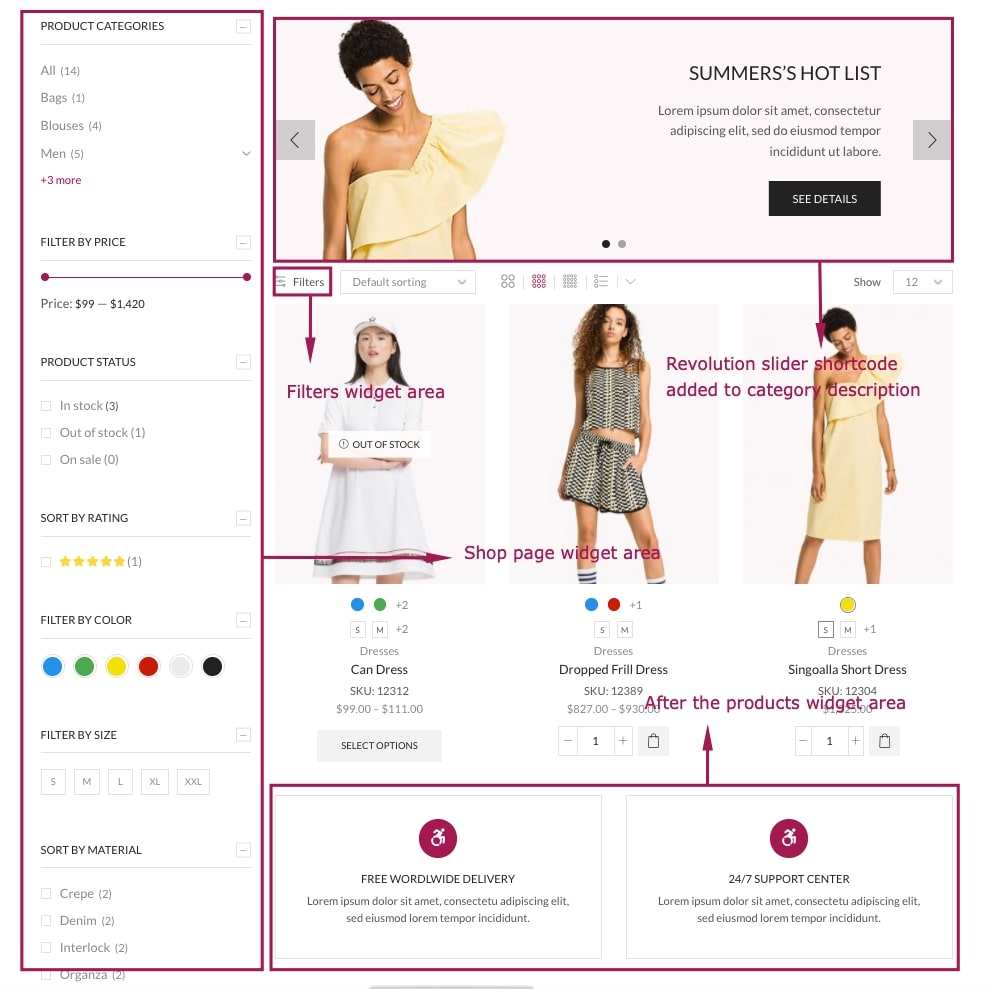
Cart area – Additional area that appears on a Cart page before a Coupon Code. Can be used for an advert.
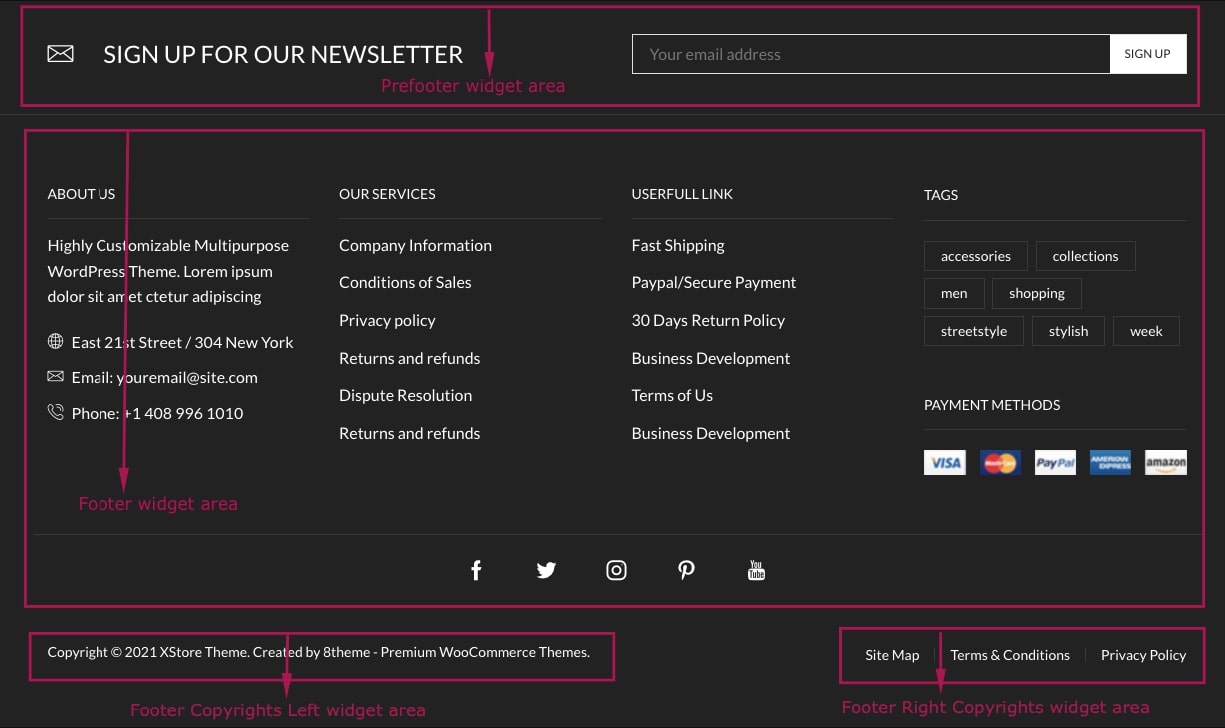
PreFooter – Add the content you want to display in pre-footer. We recommend using the Static Block feature and Static Block Widget to build a multicolumn layout.
Footer Columns, Footer Copyrights – Add the content you want to display in the footer.