XStore supports the custom WordPress menus.
Screen Options #
Custom menus may contain links to pages, categories, custom links or other content types. If you want to add special features to the menu like posts and post categories, product categories, portfolio categories, classes for links, etc., click on the Screen options button in the upper right corner, where you’ll be able to choose many more menu item options.

Please be advised that within XStore, there is no restriction on the number of menus that can be created.
How to create a menu #
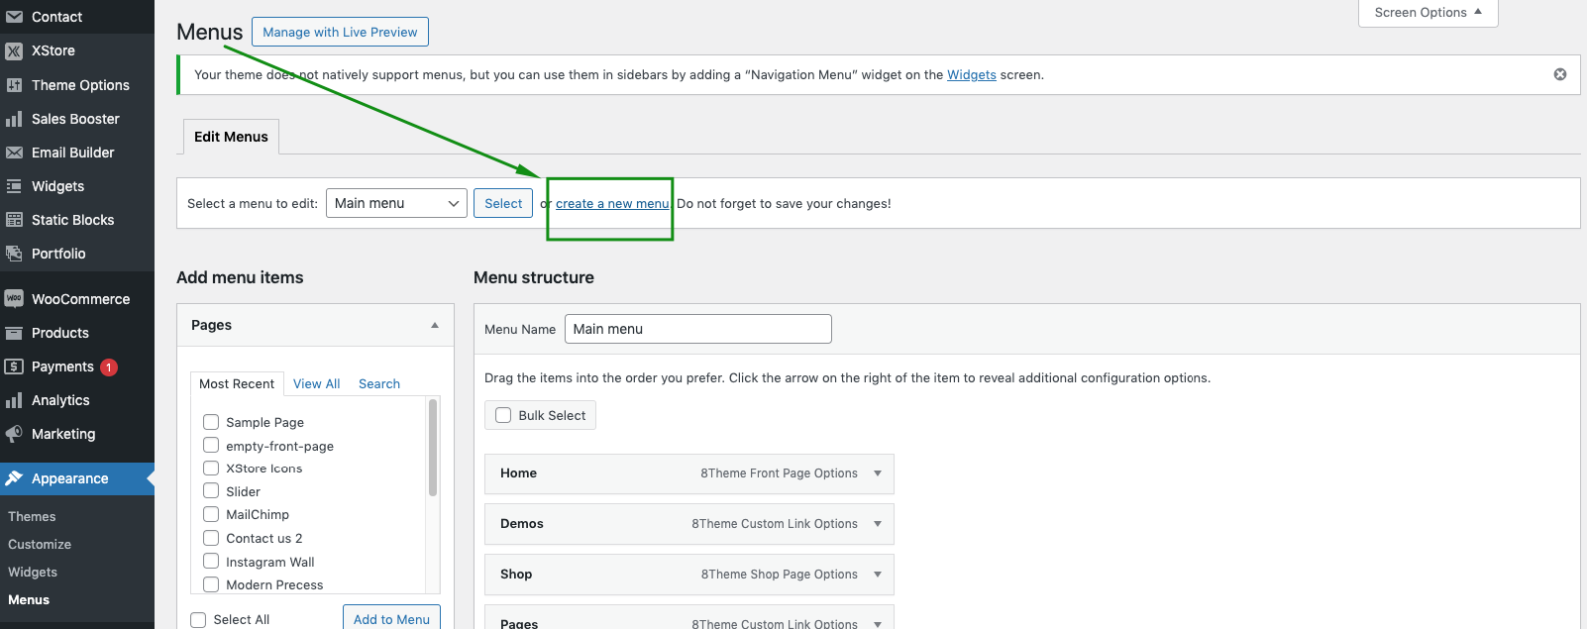
To create a new menu, navigate to the Dashboard > Appearance > Menus page and click on the Create a new menu link.

Then, you can add Pages, Posts, and Custom Links from blocks located on the left. When you have your menu items arranged in the order you want, click on Save Menu.
XStore Menu Options #


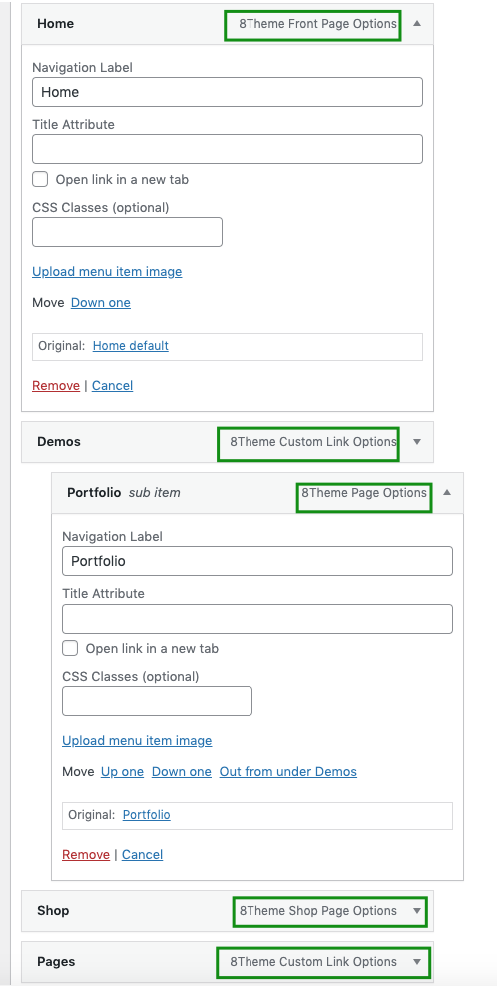
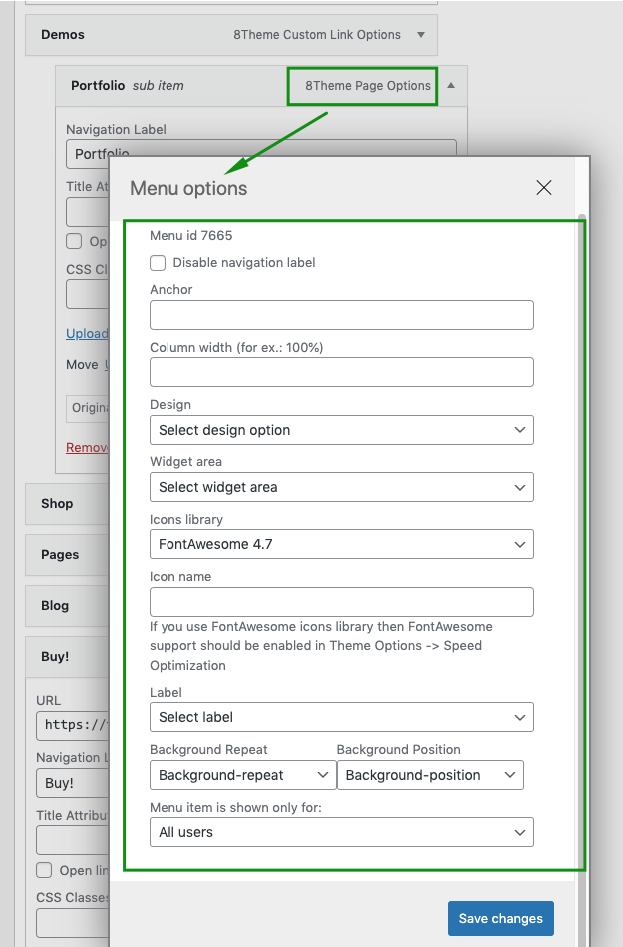
XStore theme has additional settings for creating a menu. Options will change depending on the menu item level.
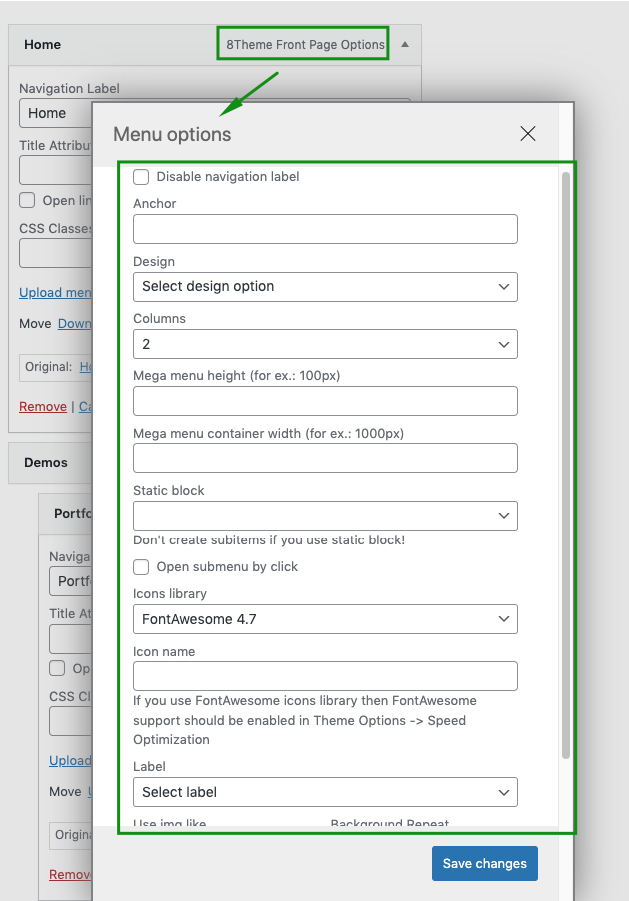
Disable navigation labels – allows you to disable menu titles (1st, 2nd levels).
Design – allows you to choose menu type (Dropdown, Mega menu, Subcategories + Posts)
Columns – set the number of columns if the Mega Menu design type is selected (1st level).
Label – apply the label for your menu item: new, sale, hot.
Menu item image – to use the image for the menu, upload the image file, and set the menu position. You can use the image as a background for the menu item, or as a separate image column.
Note: You need to save the menu after adding menu items to display the theme settings for the menu!


